Wall Opening and Framing
We cut the tile and backer board, find the stud bay, and frame the cavity square and level. Blocking goes in so the niche has something solid to attach to, and so grab bars can be added later without opening the wall again.
Shower niche and shelf installation pocatello ID homeowners call us for is the kind of work that has to be right the first time. We cut the opening, frame it, waterproof the cavity, and tile it flush so your shampoo bottles sit in the wall instead of on the floor. If you are planning a shower niche installation pocatello project this winter, we can have it finished before the holidays.
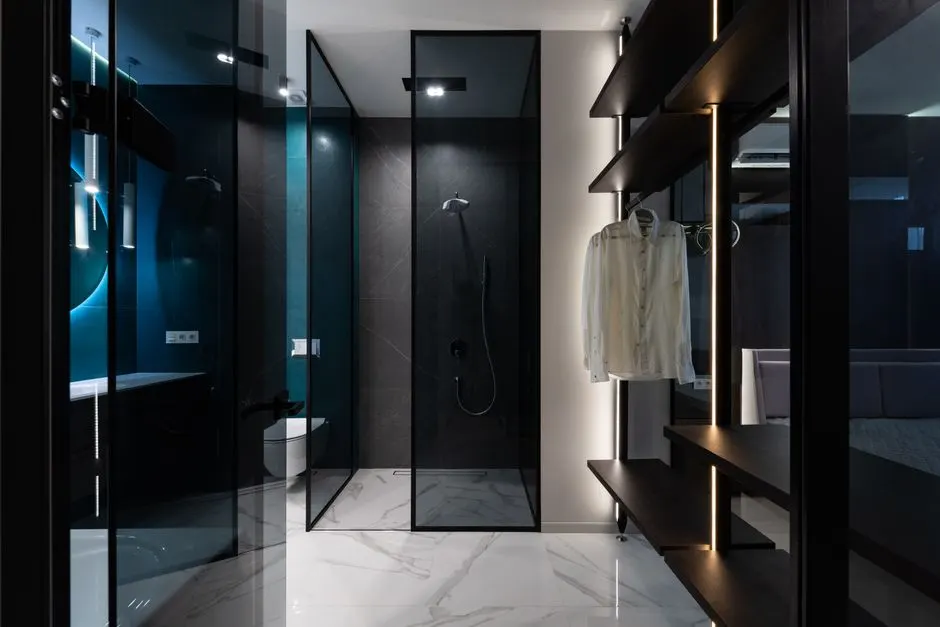
Shower niche and shelf installation pocatello ID is a wall-cavity build-out, not a surface add-on. We locate the stud bay, cut the opening with a tile saw or wet saw, frame the box square, then line it with cement backer board and a waterproofing membrane before any thinset mortar or tile goes in. The shelf itself is set on a slight slope so water runs out instead of pooling. Get that slope wrong by a quarter inch and you will be scrubbing mildew out of the corner for years.
Most Pocatello homes we open up were built between the 1950s and the 1990s, and a lot of them still have 4-inch tile over greenboard with no membrane behind it. Adding a recessed shower niche pocatello ID style means we have to tie the new cavity into whatever waterproofing is already there, or rebuild that section of the wall. In Bannock County's dry climate, showers dry out fast, but the freeze-thaw swings in January and February still work on failed caulking and grout lines. That is usually when we get the call.
Every niche job includes the cut, the framing, the waterproofing, the tile, and the seal. We tell you up front what is part of the price and what would be a separate repair if we find something behind the wall.
We cut the tile and backer board, find the stud bay, and frame the cavity square and level. Blocking goes in so the niche has something solid to attach to, and so grab bars can be added later without opening the wall again.
Cement backer board lines the cavity, then a waterproofing membrane goes over the whole box and laps onto the surrounding wall. We seal the corners and penetrations before any tile goes near it.
Thinset mortar, tile cut to fit, grout floated into the joints. We match your existing tile as closely as the dye lot allows, and we cut trim pieces on a wet saw so the edges are clean.
Every inside corner gets silicone caulk rated for wet areas. This is the joint that fails first on cheap installs, and it is the one we spend the most time on because it is what keeps water out of your framing.
Shelves get a slight outward slope so water runs off instead of sitting. We spray-test the niche and check for weeping before we call the job done, and we show you what to watch for.
Dust control goes up before we cut and comes down after. We sweep, wipe the tile, put fixtures back, and walk you through the finished niche so you know how to care for the grout and caulk.
We come out, measure the wall, and find the studs with a level and a stud finder. We check what is behind the tile, confirm the shower valve and drain locations, and tell you right there whether a niche fits that bay. Most estimates take 30 to 45 minutes.
You pick the size and height, usually 12 by 12 up to 16 by 30 inches, set between 40 and 60 inches off the shower floor. We mark the opening, cut the tile with a wet saw, and cut the backer board to match. Dust control goes up before the saw starts.
We frame the cavity square with lumber, then line it with cement backer board. A waterproofing membrane goes over the whole box and laps onto the surrounding wall. This is the step that keeps water out of your framing, and we do not rush it.
Thinset mortar goes down with a notched trowel, then the tile or stone goes in, matched to your existing wall as closely as the dye lot allows. We grout with a float, tool the joints, and let it cure. Shelves get a slight outward slope so nothing sits in water.
Silicone caulk goes into every inside corner, then we test with a spray-down and check for weeping. The floor gets swept, the fixtures go back, and you get a walkthrough. Most niches are ready for use in 24 to 48 hours.
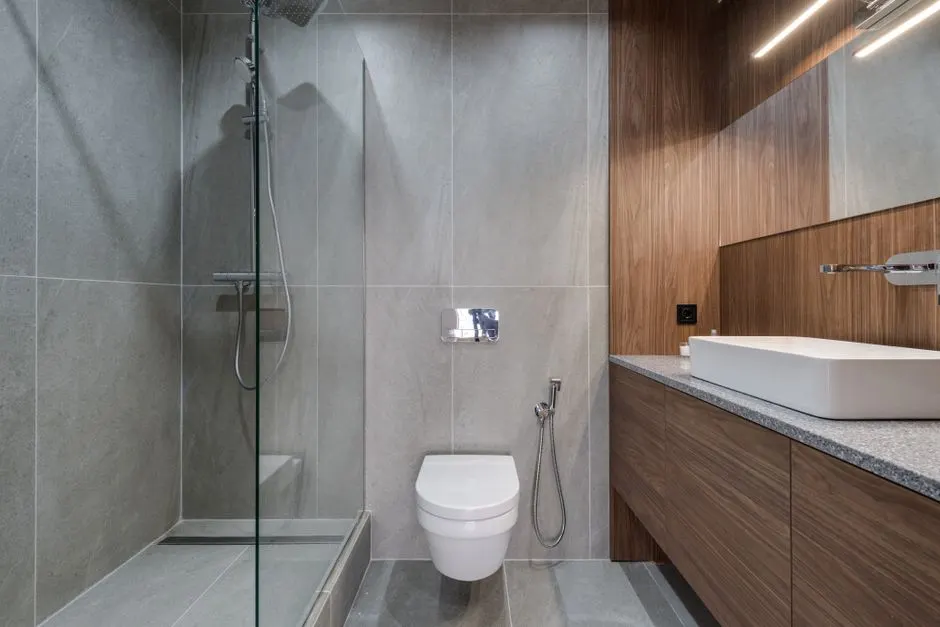
We come out, measure the wall, and find the studs with a level and a stud finder. We check what is behind the tile, confirm the shower valve and drain locations, and tell you right there whether a niche fits that bay. Most estimates take 30 to 45 minutes.
Cuts porcelain tile, ceramic tile, and natural stone tile cleanly, including the trim pieces around the niche opening. A wet saw keeps the edges from chipping, which matters most on glass mosaic tile.
The notched trowel spreads thinset mortar at the right depth for full tile coverage. The grout float pushes grout into the joints and wipes the surface clean without pulling it back out.
We square and level the cavity to within 1/16 inch before tile goes on. A niche that is out of square shows up immediately next to frameless shower glass.
Every inside corner of the niche gets a bead of silicone caulk rated for wet areas. This is the joint that fails first on cheap installs, so we do not rush it.
Framing the cavity, setting blocking for grab bars, and attaching cement backer board. We add blocking now so a future grab bar install does not mean cutting tile again.
If the niche layout runs into the shower valve or a supply line, we shift the plumbing or the niche. We check the stud bay before we cut so this is rare.
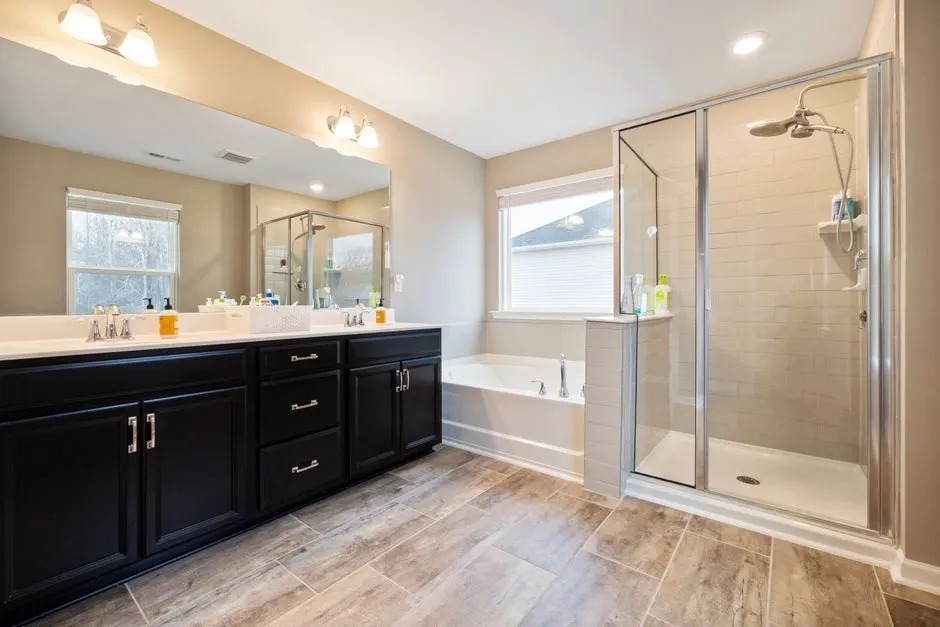
A 1950s Old Town Pocatello shower with original 4-inch tile, no storage, and a wire caddy that had rusted through and stained the wall. The wall behind the tile was greenboard with no membrane, and the caulk at the tub line had failed.
After: We opened the wall, added blocking, framed two 12 by 24 inch niches, and rebuilt the section with cement backer board and a waterproofing membrane. New tile matched the original pattern within the dye lot. The shower has been dry for two winters.
Book this service →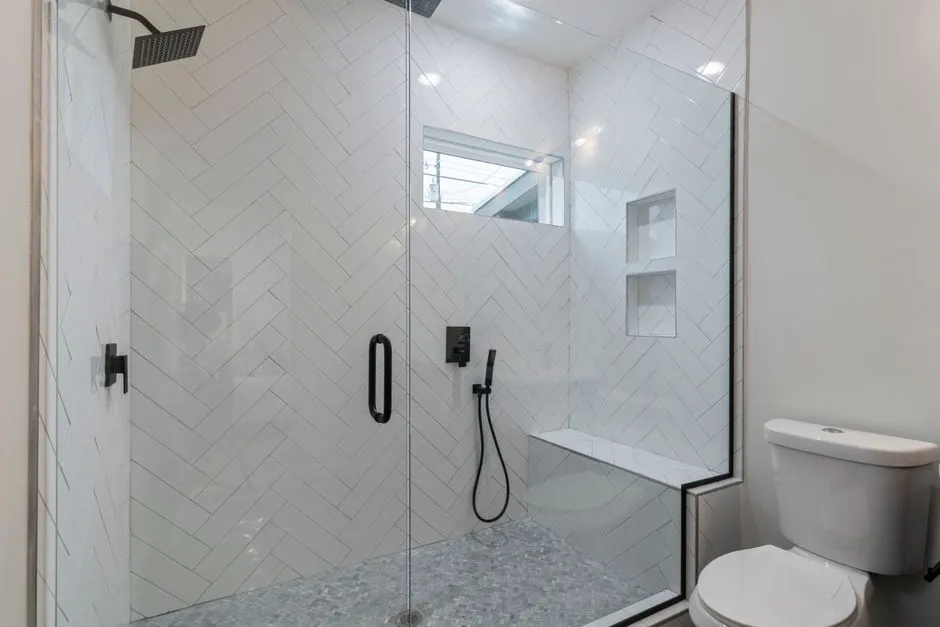
A Pocatello Creek home had a niche installed by a previous owner with no waterproofing behind it. Water had been running into the wall for months and showed up as a brown stain on the kitchen ceiling below the bathroom.
After: We opened the cavity, replaced the soft backer board, and rebuilt the niche with a bonded waterproofing membrane tied into the surrounding wall. New tile, new grout, new silicone caulk at every corner. The ceiling stain stopped growing and the wall dried out.
Book this service →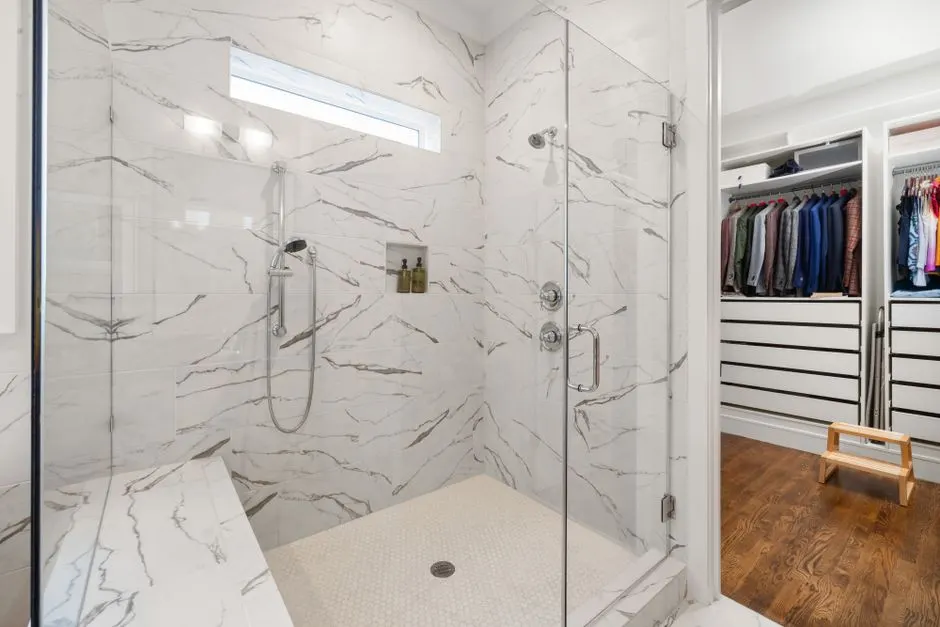
A Highland homeowner pulled out a failing tub and wanted a walk-in shower with storage. The old wall had a single small soap dish and nothing else, so everything ended up on the tub ledge and then on the floor.
After: We framed new shower walls, added a 48-inch full-width shelf and a 16 by 30 inch niche, and waterproofed the whole assembly before tile. The shower now holds a family's worth of product with nothing on the floor, and the drain stays clear.
Book this service →Most of the niche calls we get are not about storage. They are about water where it should not be, or a shelf that was never built to shed it. Here is what we see most in Pocatello showers.
Ask a pro →We cut out the failed caulk and grout, dry the cavity, check the shelf slope, and rebuild the seal with mold-resistant silicone caulk. If the backer board is soft, we replace that section and re-waterproof it.
We open the wall, find the breach, and rebuild the niche with a proper waterproofing membrane tied into the surrounding wall. We also check the shower pan liner and drain while the wall is open.
We add a recessed niche or a full-width shelf sized to your wall, set at a height that works for everyone in the house. Storage comes off the floor and the shower drains the way it was designed to.
A tiled niche is part of the wall. Nothing hangs, nothing shifts, and nothing scratches the tile. We size it to what you actually keep in the shower, not a generic 12-inch box.
$350 - $1,500 depending on scope
Typical 2026 pricing in the Pocatello area runs $350 to $900 for a single niche and $700 to $1,500 for a double or a full-width shelf. The number moves with tile type, how much wall has to be opened, and whether the existing waterproofing can be tied in or has to be rebuilt. Glass mosaic tile and natural stone tile take longer to cut and set, so they sit at the top of the range. We quote the whole job before we start, and the price does not change unless you change the scope.
The waterproofing is where the money goes, and it is the part you cannot see when the job is done. A niche that is sealed correctly lasts through Pocatello winters. A cheap one leaks into your ceiling and costs three times as much to fix.
Large-format porcelain tile cuts fast and sets clean. Glass mosaic tile and natural stone tile take longer because every piece has to be cut and set individually, and stone needs sealing. That labor difference is the biggest swing in the price.
Get a quote ↗A second niche in the same wall adds less than the first one does, because we are already set up and the wall is already open. Two niches usually run about 60 to 70 percent more than one, not double.
Get a quote ↗If we find greenboard with no membrane, soft backer board, or rot, that section has to be rebuilt before the niche goes in. We show you what we find and quote the repair before we touch it.
Get a quote ↗A standard 12 by 12 inch box is the fastest to build. A 16 by 30 inch niche, a full-width shelf, or a corner niche takes more framing and more tile cuts. Custom shapes cost more because nothing is off the shelf.
Get a quote ↗Most single-niche installs in Pocatello run $350 to $900 in 2026, and a double niche or a full-width shelf runs $700 to $1,500. Cost depends on tile type, how much wall has to be opened, and whether the existing waterproofing can be tied in. Glass mosaic tile and natural stone tile push the number up because they take longer to cut and set. We quote the whole job before we start.
A shower niche is a recessed box built into the shower wall, framed between studs, waterproofed, and tiled so it sits flush with the surrounding wall. It holds shampoo, soap, and razors without taking up floor space or hanging off a caddy. In Pocatello homes, most niches go 12 by 12 up to 16 by 30 inches and sit 40 to 60 inches off the shower floor.
A single niche takes 4 to 6 hours of on-site work, and you can usually use the shower again in 24 to 48 hours once the caulk and grout cure. A double niche or a niche plus a bench takes a full day. If we have to open the wall and rebuild waterproofing, add another half day. We give you the timeline up front so you can plan around it.
We do. ShowerPro Installation handles shower niche and shelf installation pocatello ID wide, from Old Town and the University Area to Highland, Alameda, and the Chubbuck border. We cut, frame, waterproof, and tile in one visit in most cases. Call or text and we will get you on the schedule, usually within the same week.
One phone call gets you a real number, not a range over the phone. We measure, check the wall, and tell you what the job takes. Licensed, insured, and warrantied on the waterproofing. Call today and we will get you scheduled this week.
Get Free Estimate +19863369120 →Call us at +1 986-336-9120 or email [email protected] and we'll set up a free on-site measure. We answer the phone Monday through Friday, 8:00 to 18:00, and we return every message the same business day. For a leaking shower or a valve that's spraying, call any time - we run emergency call-outs 24/7.