Tear-out and haul-away
We remove the old tile, backer board, pan, and valve trim, protect the floor and fixtures, and haul everything to the dump. Dust containment and daily cleanup are included, not billed as extras.
When you need shower tile installation pocatello ID homeowners can trust, we tear out the old surround, rebuild the pan, and set every tile over a waterproofed substrate. We handle ceramic, porcelain, and natural stone for walk-in showers, tub-to-shower conversions, and curbless builds across Bannock County. Free same-day estimate, and we leave the bathroom cleaner than we found it.
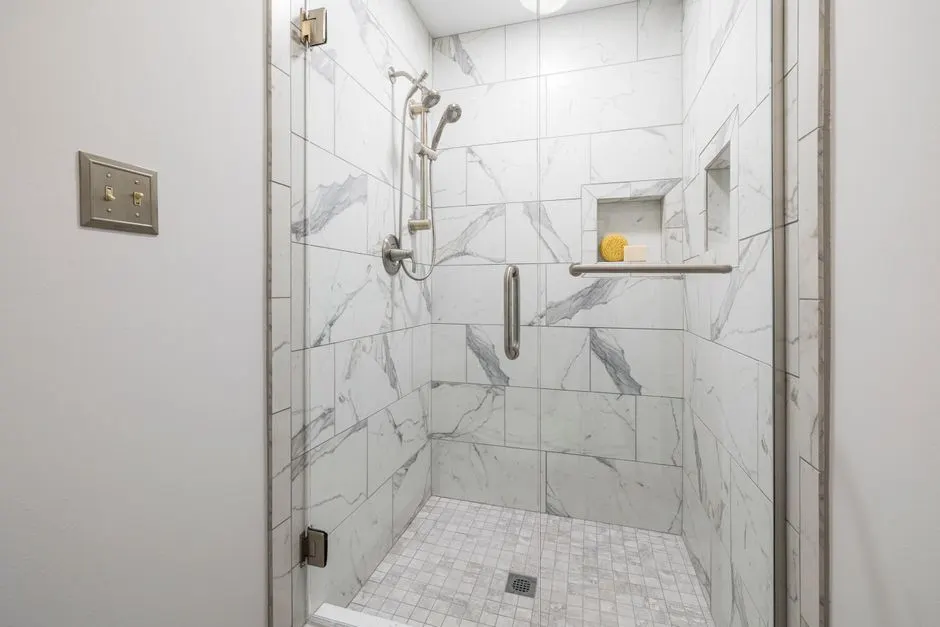
Shower tile installation pocatello ID is the full rebuild of a shower's wet surface: tear-out, new cement backer board, a waterproofing membrane over the pan and walls, then thinset and tile set to a consistent plane. We shim and level the studs first, because a wall that is out of plumb by a quarter inch shows up as lippage on every course. Grout lines get sealed, corners get silicone caulk, and the drain gets a code-correct connection before a single tile goes up.
Most Pocatello homes we open up were built between the 1950s and 1990s, and the original showers were framed with greenboard and mastic, which fails fast in our freeze-thaw climate. If you are searching for shower tile installation near me pocatello ID after a leak stained the ceiling below, the fix is never just new tile. We rebuild the assembly so the next 20 years of showers stay where they belong.
Every shower we build includes the full wet assembly, not just the tile. You are not coordinating a plumber, a tile setter, and a glass company separately. Here is what is covered in a standard quote, and what we price separately if you want it added.
We remove the old tile, backer board, pan, and valve trim, protect the floor and fixtures, and haul everything to the dump. Dust containment and daily cleanup are included, not billed as extras.
A sloped pan liner or pre-sloped foam pan, cement backer board, taped seams, and a bonded waterproofing membrane across walls and floor. We flood-test the pan for 24 hours before any tile goes up.
Ceramic, porcelain, or natural stone set with thinset and a notched trowel, grouted with epoxy in wet zones and silicone caulk at every change of plane. Tile layout is planned so cuts land where they look intentional.
We set the shower valve, drain, and trim so the escutcheon lands on a full tile and the drain sits at code slope. If the valve body needs replacing, we do it while the wall is open.
A shower tile installation with niche pocatello ID layouts often includes a bench or grab bar blocking. We frame and waterproof these during the rebuild so they are structural, not surface-mounted.
We template and install the glass enclosure after tile, seal it with silicone, run the shower for 20 minutes, and walk you through the finished job. Care instructions and warranty paperwork come with it.
We measure the shower footprint, check the valve and drain locations, and look at what is behind the existing wall. You get a written range the same day, plus tile and fixture options at three price points. This visit takes about 45 minutes.
We remove the old tile, backer, and pan, then inspect the studs and subfloor for rot. Any soft framing gets replaced and sistered. We set the new shower pan liner and flood-test it for 24 hours before closing anything up.
Cement backer board goes up, seams get taped and mudded, and we roll or sheet the waterproofing membrane across the walls and pan. A notched trowel and level keep the plane flat. This is the step that decides whether the shower leaks in year eight.
We lay out the tile on the wall first so cuts land where they look intentional, then set with thinset and a grout float. Niche, bench, and grab bar blocking are already framed in. Grout cures 24 hours before the shower sees water.
We install the shower valve trim, drain cover, and glass enclosure, then run the shower for 20 minutes and check every joint from the room below if there is access. You get a walkthrough, a care sheet, and our workmanship warranty.
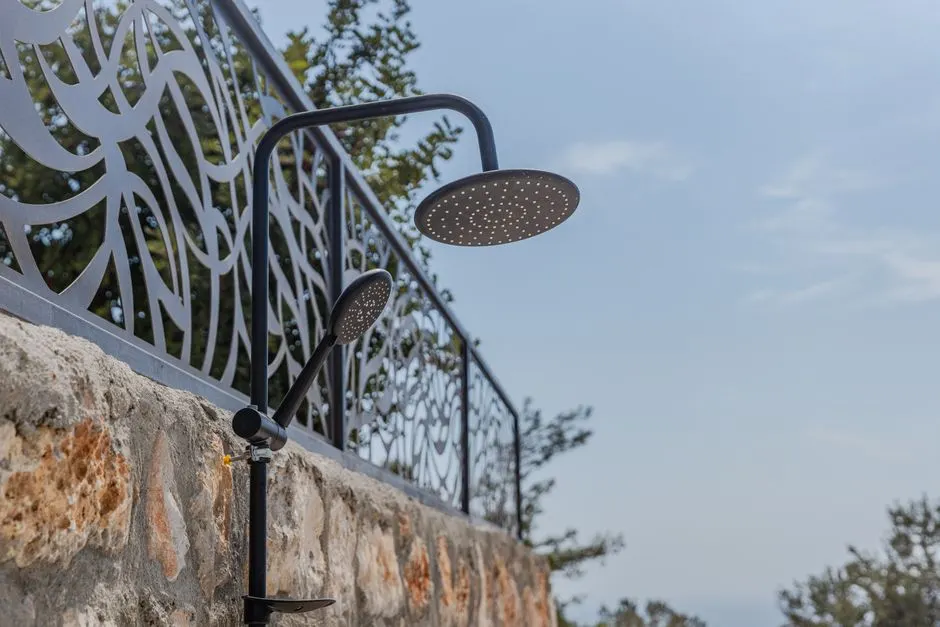
We measure the shower footprint, check the valve and drain locations, and look at what is behind the existing wall. You get a written range the same day, plus tile and fixture options at three price points. This visit takes about 45 minutes.
Cuts porcelain and natural stone cleanly without chipping the glaze. We use it for every straight cut and most of the niche and drain cuts.
Controls thinset depth so every tile gets full coverage. The notch size changes with tile size, which is how we avoid hollow spots behind large format tile.
Packs grout into the joints and lays a clean silicone bead at every change of plane. Silicone, not grout, goes in the corners because it moves with the house.
We check plumb and level before backer board goes up. A wall that is out of plumb by a quarter inch shows up as lippage on every course of tile.
Sets the drain to code slope and tightens the pan liner connection. A drain set too high is the reason a shower puddles at the center.
Fastens backer board, blocking, and trim. We predrill and use coated screws so nothing rusts through the waterproofing.
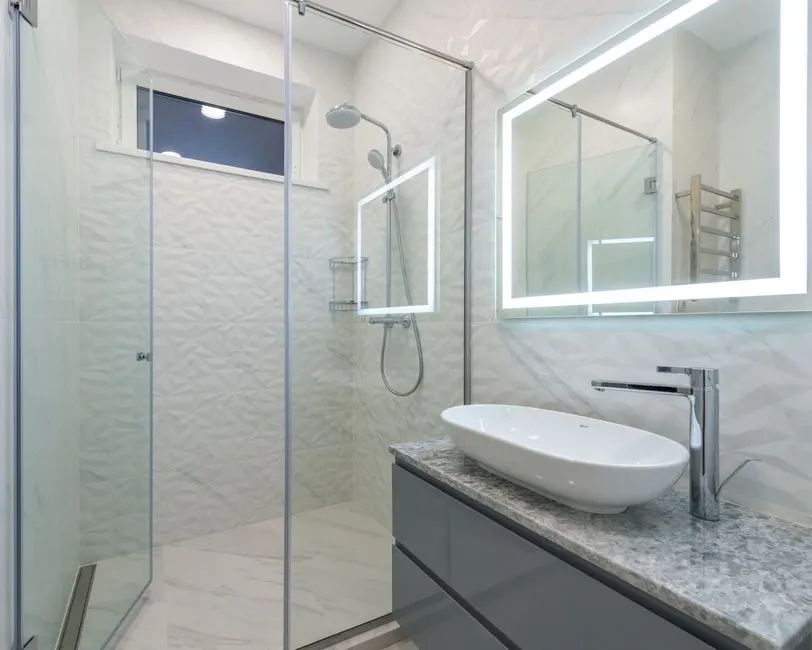
A 1978 Highland home had a greenboard shower with failing grout and a stain spreading on the kitchen ceiling below. The pan liner was brittle and the bottom two rows of tile pulled off by hand.
After: We replaced two soft studs, set a new sloped pan with a 24-hour flood test, and rebuilt with cement backer board, Schluter membrane, and large format porcelain. The ceiling stain was repaired and has not returned.
Book this service →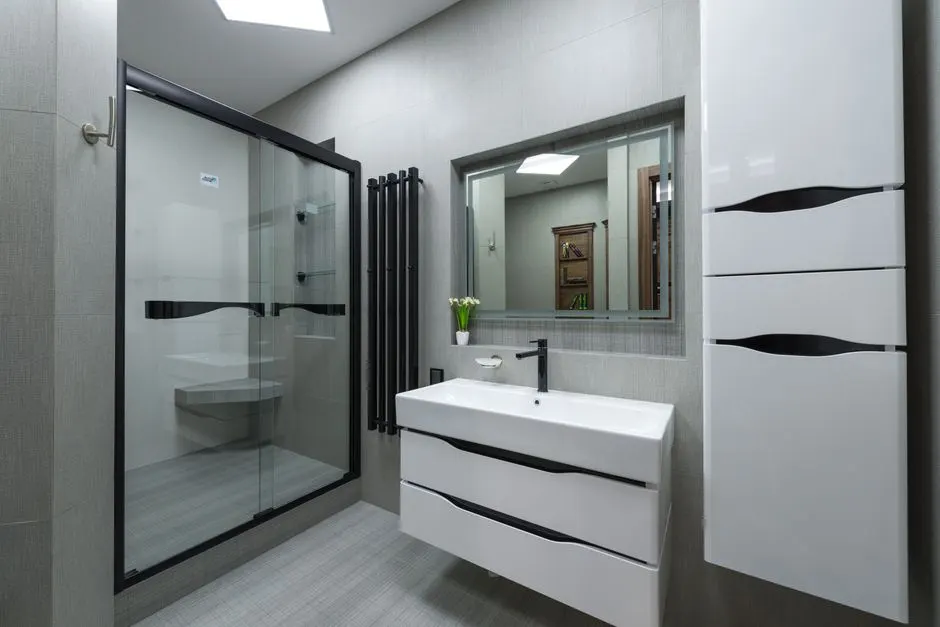
A 1920s Old Town house had a cast iron tub on a crooked floor. The homeowner wanted a walk-in with a bench and a niche but two other bids said the floor was too far out of level for a curbless build.
After: We recessed the subfloor, transitioned the cast iron drain to PVC, framed the bench and niche, and set a linear drain. The curbless shower was finished in six days with a frameless glass panel.
Book this service →A rental near the Idaho State University District had a small-tile shower with cement grout that stained and grew mildew between every tenant. Turnover cleaning was eating the owner's margin.
After: We installed 12x24 porcelain with epoxy grout and a simple framed glass door. Grout lines dropped by roughly 70%, and the shower now wipes clean in minutes between tenants.
Book this service →Most shower failures start behind the tile, where you cannot see them. By the time water shows up on the ceiling below, the damage has been running for months. Here is what we see most in Pocatello.
Ask a pro →We trace the leak to its source, open the wall only where needed, and rebuild the pan and waterproofing. Then we flood-test the new assembly for 24 hours before tile so we know it is dry.
We cut out the failed caulk and grout, dry the substrate, and rebuild with epoxy grout and silicone caulk. If the backer is wet, we replace it and re-waterproof the wall.
We pull the old base, inspect the framing, and set a new sloped pan that drains fully. The pan liner gets flood-tested and the drain gets reset to code slope.
We remove the old caulk completely, dry the joint, and redo it with 100% silicone. In the field, we regrout with epoxy so the joints handle movement instead of cracking.
$2,800 - $7,500 depending on scope
Typical 2026 pricing in Pocatello runs $2,800 to $7,500 for a full tear-out and tile rebuild. That range covers a standard alcove shower with ceramic or porcelain tile, a new pan, waterproofing, and grout. Curbless builds, natural stone, and linear drains push toward the top. We give you a written range before demolition, and if we open a wall and find rot, we show you the photo and quote the repair before we touch it.
The price covers the whole wet assembly, not just the tile you see. Waterproofing, flood-testing, and code-correct drain work are what keep the shower from leaking into your floor, and that is the part that pays for itself.
Square footage drives tile, thinset, backer, and labor. A 3x5 alcove is the baseline. A 4x6 walk-in with a bench and niche adds roughly 30 to 40 percent to the tile and setting time.
Get a quote ↗Ceramic is the least expensive. Porcelain costs a bit more but handles water and freeze-thaw better. Natural stone and glass mosaic run two to three times ceramic and take longer to set and seal.
Get a quote ↗A standard center drain pan is straightforward. A curbless build with a linear drain means recessing the subfloor or moving the drain, which is framing and plumbing time before tile.
Get a quote ↗Replacing the valve body while the wall is open adds parts and a couple of hours. Skipping it means paying to open the wall again later, so we recommend doing it now.
Get a quote ↗Typical 2026 pricing in Pocatello runs $2,800 to $7,500 for a full tear-out and tile rebuild, depending on square footage, tile choice, and whether we replace the pan and valve. A simple tub-to-shower conversion with ceramic tile sits near the low end. Natural stone, large format porcelain, and curbless builds with a linear drain push toward the top. We give you a written range before we start.
Porcelain is the best all-around choice here. It absorbs under 0.5% water, handles freeze-thaw movement better than ceramic, and comes in large formats that cut down on grout lines. Ceramic works fine on walls if you keep it out of the direct spray. Natural stone looks great but needs sealing every year or two. Glass mosaic is best saved for accents and niches.
A standard shower takes three to five working days from tear-out to grout cure. Day one is demo and framing, day two is pan and backer, day three is waterproofing, days four and five are tile and grout. Then the grout cures 24 hours before the shower sees water. Curbless builds and natural stone add a day or two.
We do. ShowerPro Installation is a state-licensed contractor serving Pocatello, Chubbuck, and the surrounding Bannock County area, including ZIP codes 83201, 83204, and 83209. We handle the whole job, plumbing, waterproofing, tile, and glass, so you are not coordinating three trades. Call +1 986-336-9120 for a free same-day estimate.
We give free same-day estimates, a written price range, and a start date you can plan around. Licensed, bonded, and insured, with a workmanship warranty on every shower we build. Call now and we will get you on the schedule.
Get Free Estimate +19863369120 →Call us at +1 986-336-9120 or email [email protected] and we'll set up a free on-site measure. We answer the phone Monday through Friday, 8:00 to 18:00, and we return every message the same business day. For a leaking shower or a valve that's spraying, call any time - we run emergency call-outs 24/7.